In Revelator, you create a new payee while adding payees to a contract, so the payee is connected to the revenue they earn from the start.
Before you begin
|
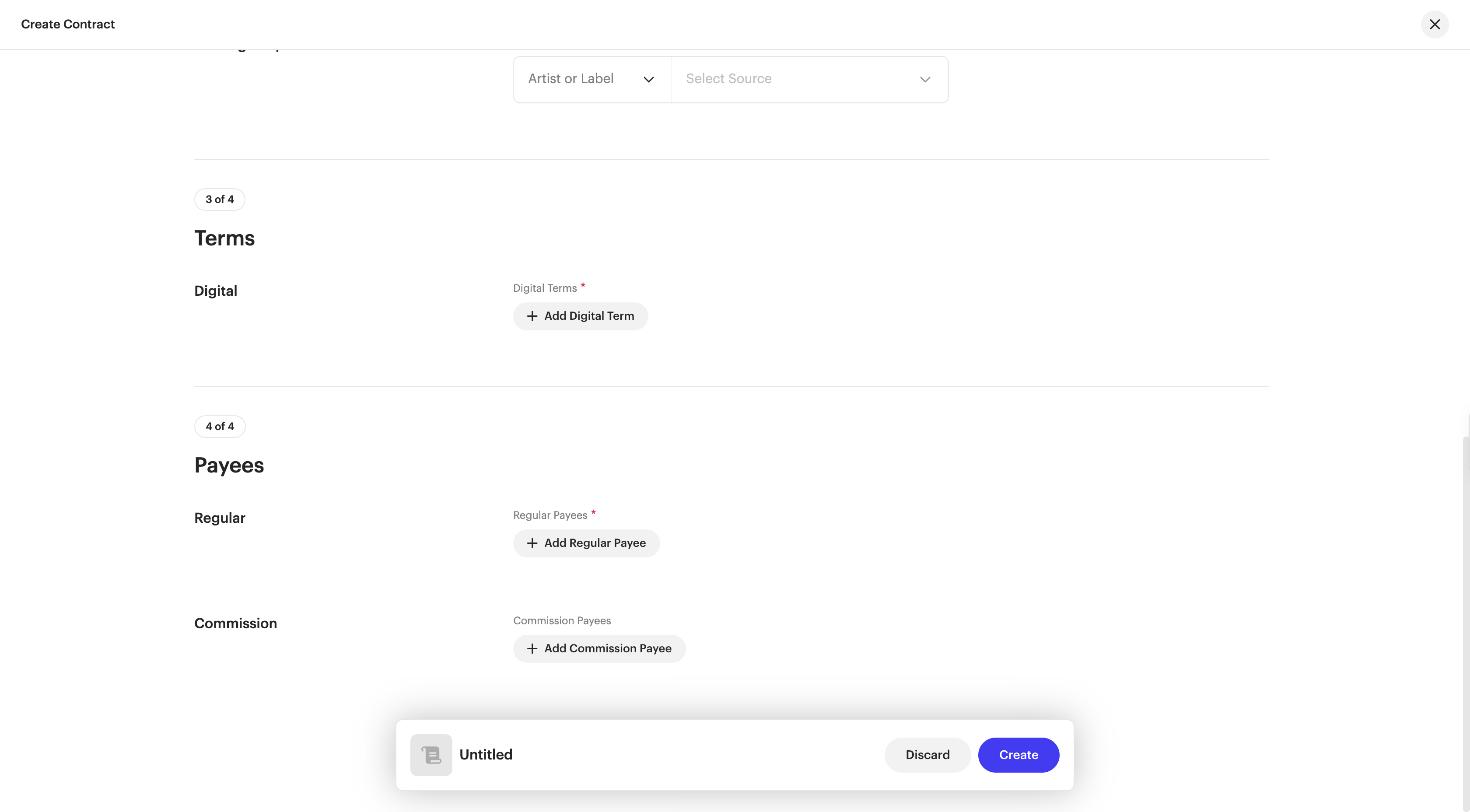
Step 1: Open the contract
- From the main navigation menu, click Rights → Contracts.
- Click Create New and choose Catalog Revenue, or open an existing contract to add a payee to it.
- Scroll to 4 of 4 Payees.
Step 2: Start creating the payee
- Under Regular Payees, click + Add Regular Payee. To add a payee whose share comes from your distribution fee, use + Add Commission Payee instead.
- In the Add Regular Payee window, click the Payee Name field.
- Search for the person first by email, name, or payee ID. If they already exist as a payee or client, select the existing one. Creating a second payee for the same person splits their revenue across two payee records.
- If the payee doesn't exist yet, click Create & Add New Payee.
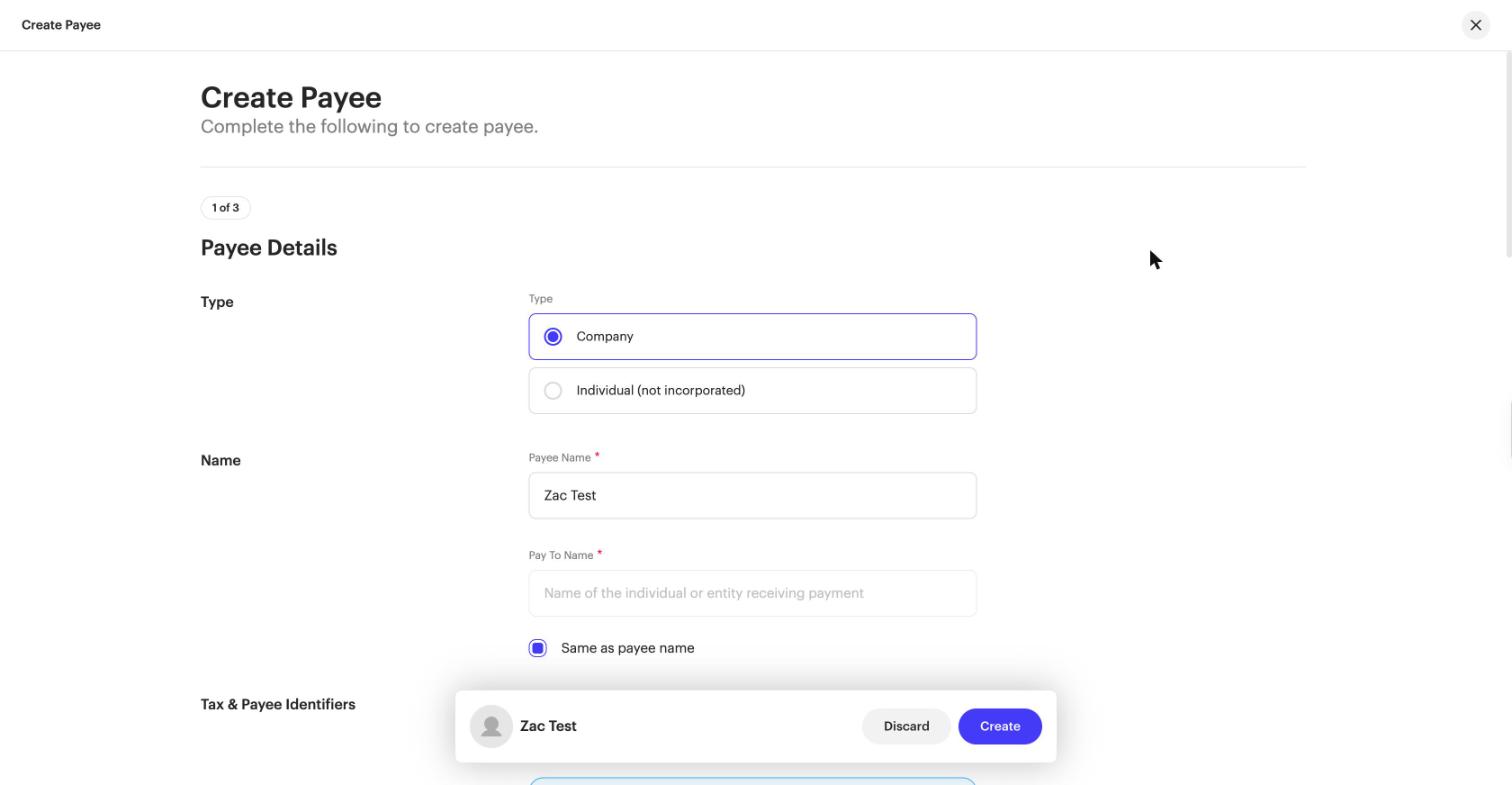
Step 3: Complete the Create Payee form
The form has three sections.
1 of 3: Payee Details
- Type: choose Company or Individual (not incorporated).
- Payee Name (required): the name you'll see in Revelator.
- Pay To Name (required): the individual or entity receiving payment. Leave Same as payee name ticked if they're the same.
- Tax & Payee Identifiers (optional): Tax Domicile Country, Tax ID Number, VAT Number, and Vendor ID.
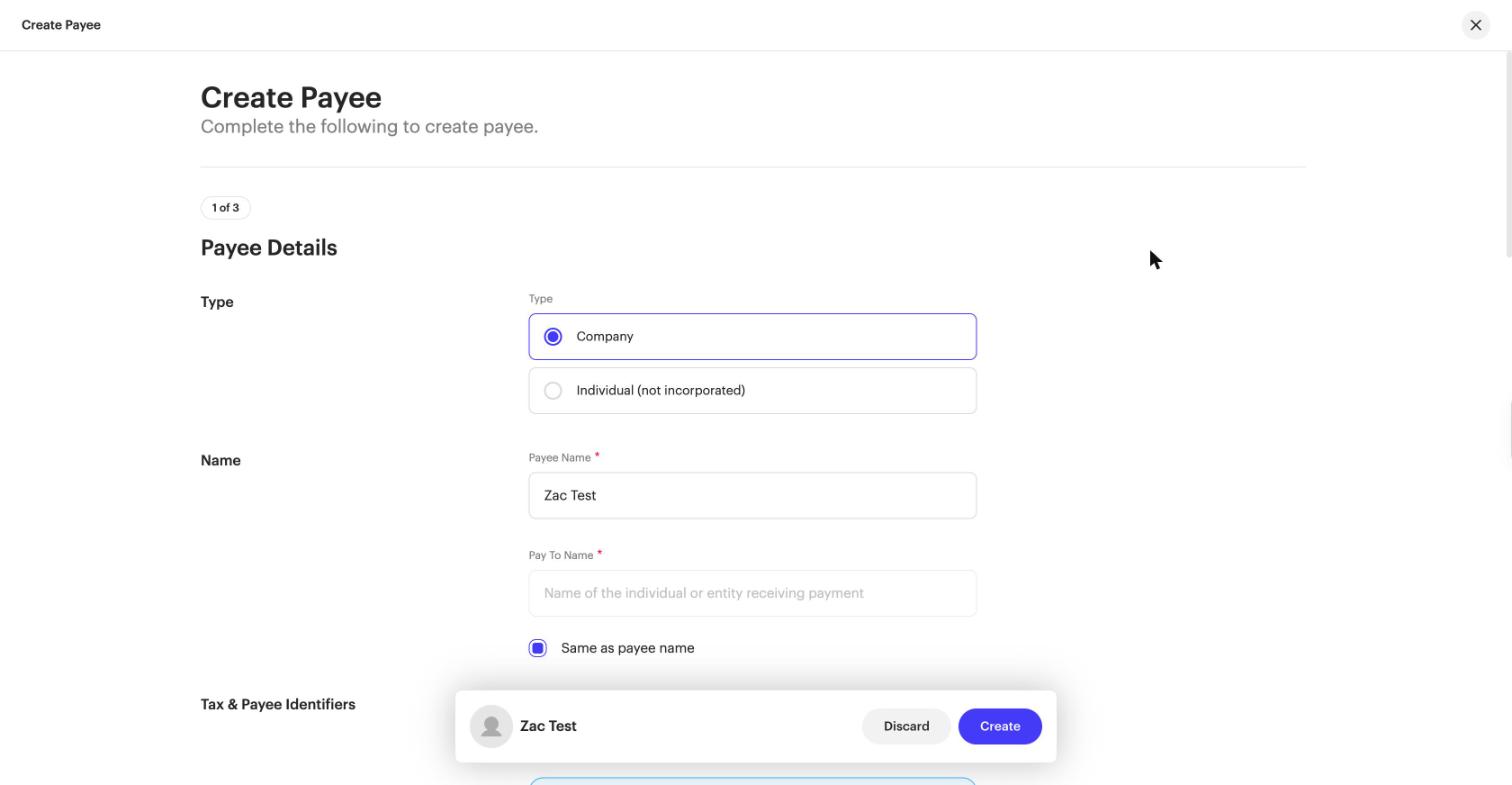
| WarningTax Domicile Country cannot be updated once it is set. Double-check it before you create the payee. Payees can update their other details themselves later, in Payee Settings. |
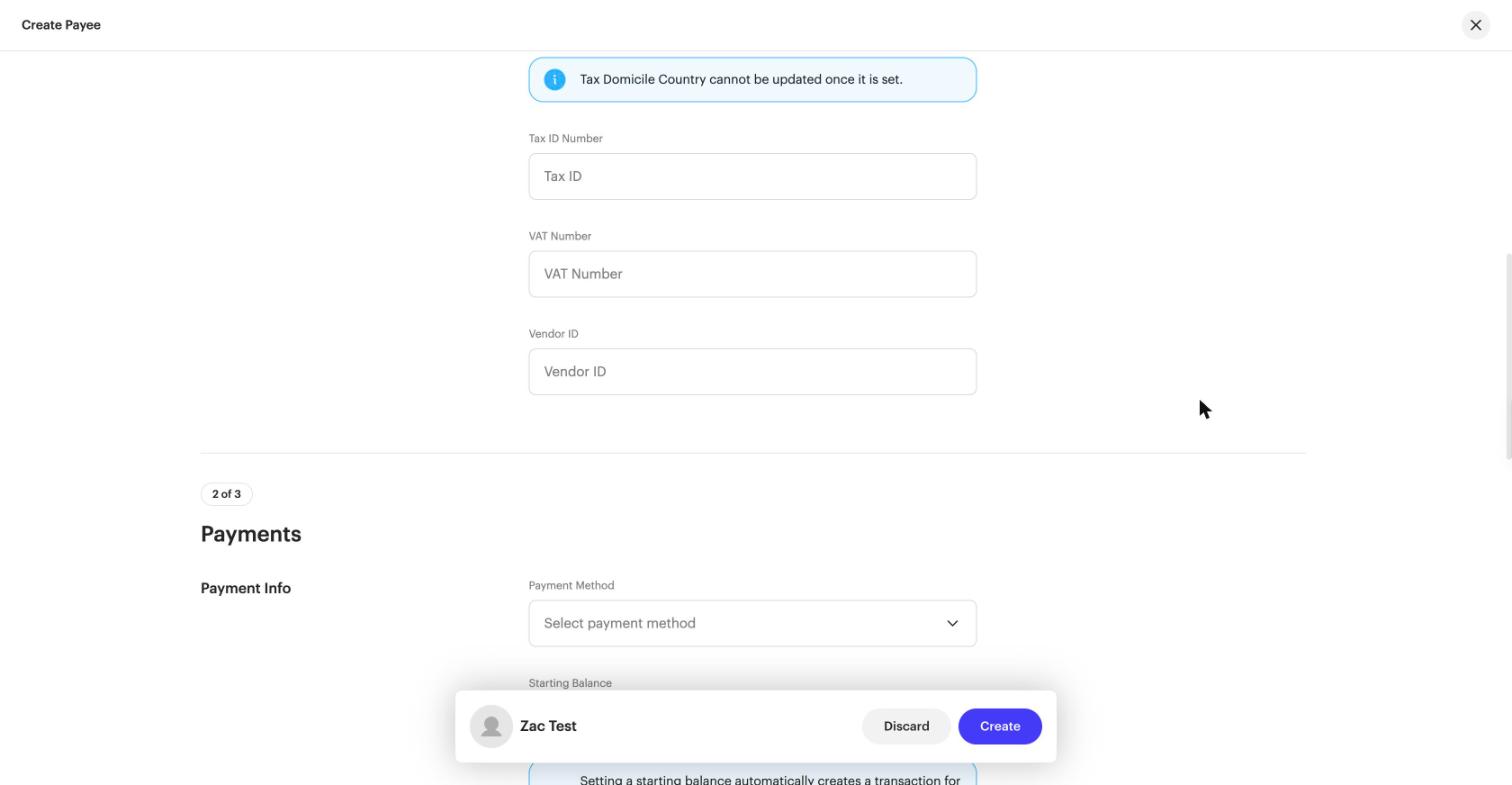
2 of 3: Payments
- Payment Method: choose how the payee will be paid. The options depend on the payment providers connected to your account (for example, Tipalti, PayPal, or Bamboo).
- Starting Balance (optional): setting a starting balance automatically creates a transaction for this payee before any statements are processed. It can be positive or negative. To record an advance you've already paid the payee, enter a negative starting balance (see Payee Advances and Recoupments).
- Minimum Payment Threshold (optional): the balance the payee must reach before a payment is made.
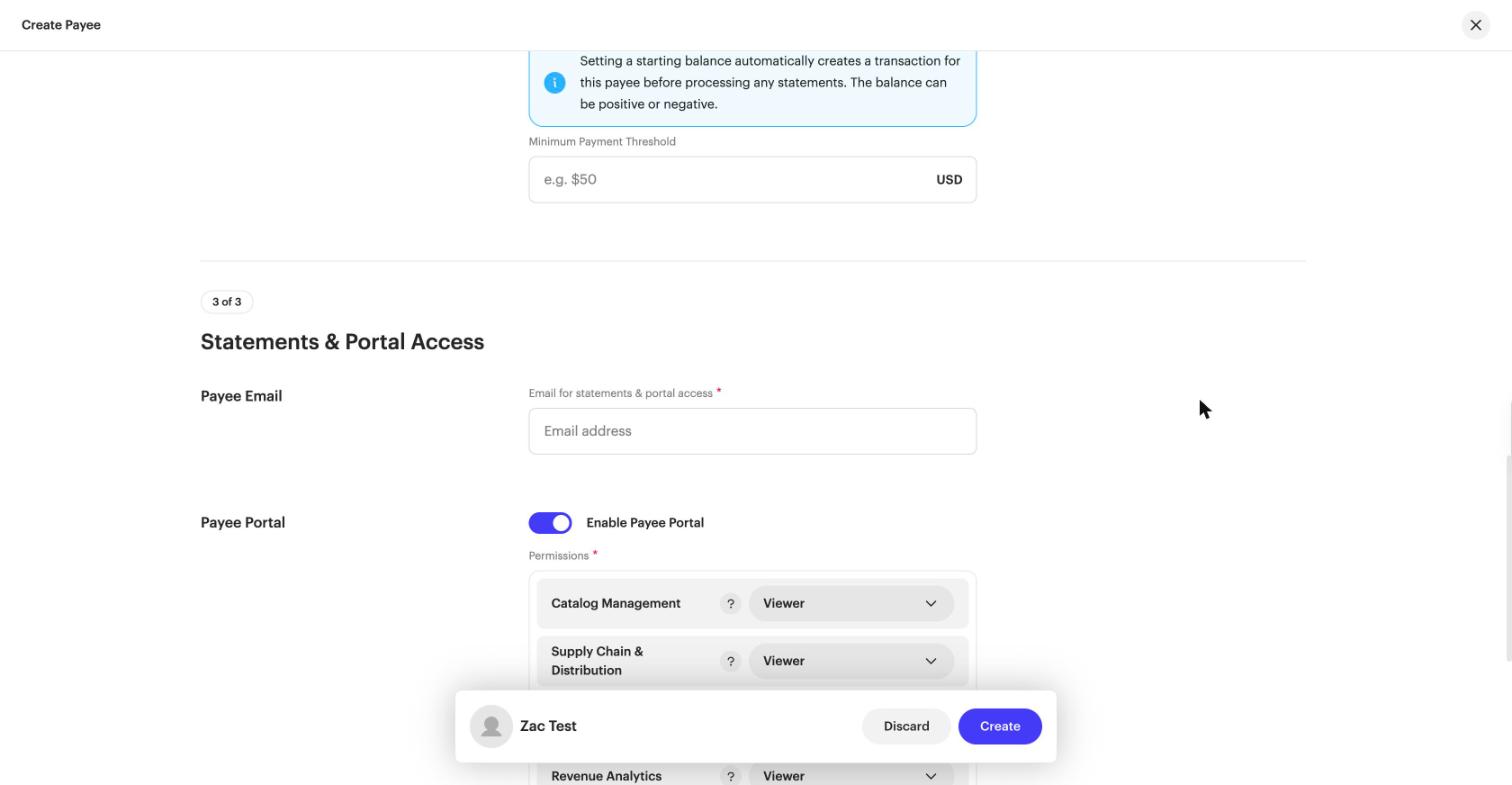
3 of 3: Statements & Portal Access
- Email for statements & portal access (required): you'll always be able to review the payee's statement and decide whether to email it to them.
- Enable Payee Portal: turn this on to give the payee access to their portal, then set Permissions for Catalog Management, Supply Chain & Distribution, Financial Reporting, and Revenue Analytics (Viewer or No access). Enabling the portal sends the payee an email invitation.
- Statement Summary Currency (required): the currency used on the payee's statement summary.
| NoteTo be paid through Revelator (Royalties → Payments → Review & Pay), the payee needs portal access and a payment method. A payee without a portal can only be paid outside Revelator. To hold royalties for someone you can't invite yet, use a placeholder email and leave Enable Payee Portal off. You can invite them later from Manage Access. |
Step 4: Create the payee and finish the contract
- Click Create in the bar at the bottom of the form. You return to the contract.
- Enter the payee's split and finish the rest of the contract (details, catalog scope, and terms). Regular payee shares must total 100%.
- Click Create to save the contract.
| ImportantA new payee is saved together with the contract. If you discard the contract before creating it, the new payee is discarded too. |
FAQ
How do I handle third parties who aren't in the system yet?
Create a placeholder (dummy) payee with a placeholder email address. This lets you hold their revenue back without sending an invitation or giving portal access right away.
Related articles
Was this article helpful?
That’s Great!
Thank you for your feedback
Sorry! We couldn't be helpful
Thank you for your feedback
Feedback sent
We appreciate your effort and will try to fix the article