This article walks through the full track-creation wizard, step by step, including fields the existing "How to Create a Track" article doesn't yet cover (genre, preview clip start time, catalog ID, track origin, copyright, and track properties).
| Before you start Have your stereo (or Dolby Atmos) audio file ready, and know whether this recording already has an ISRC. |
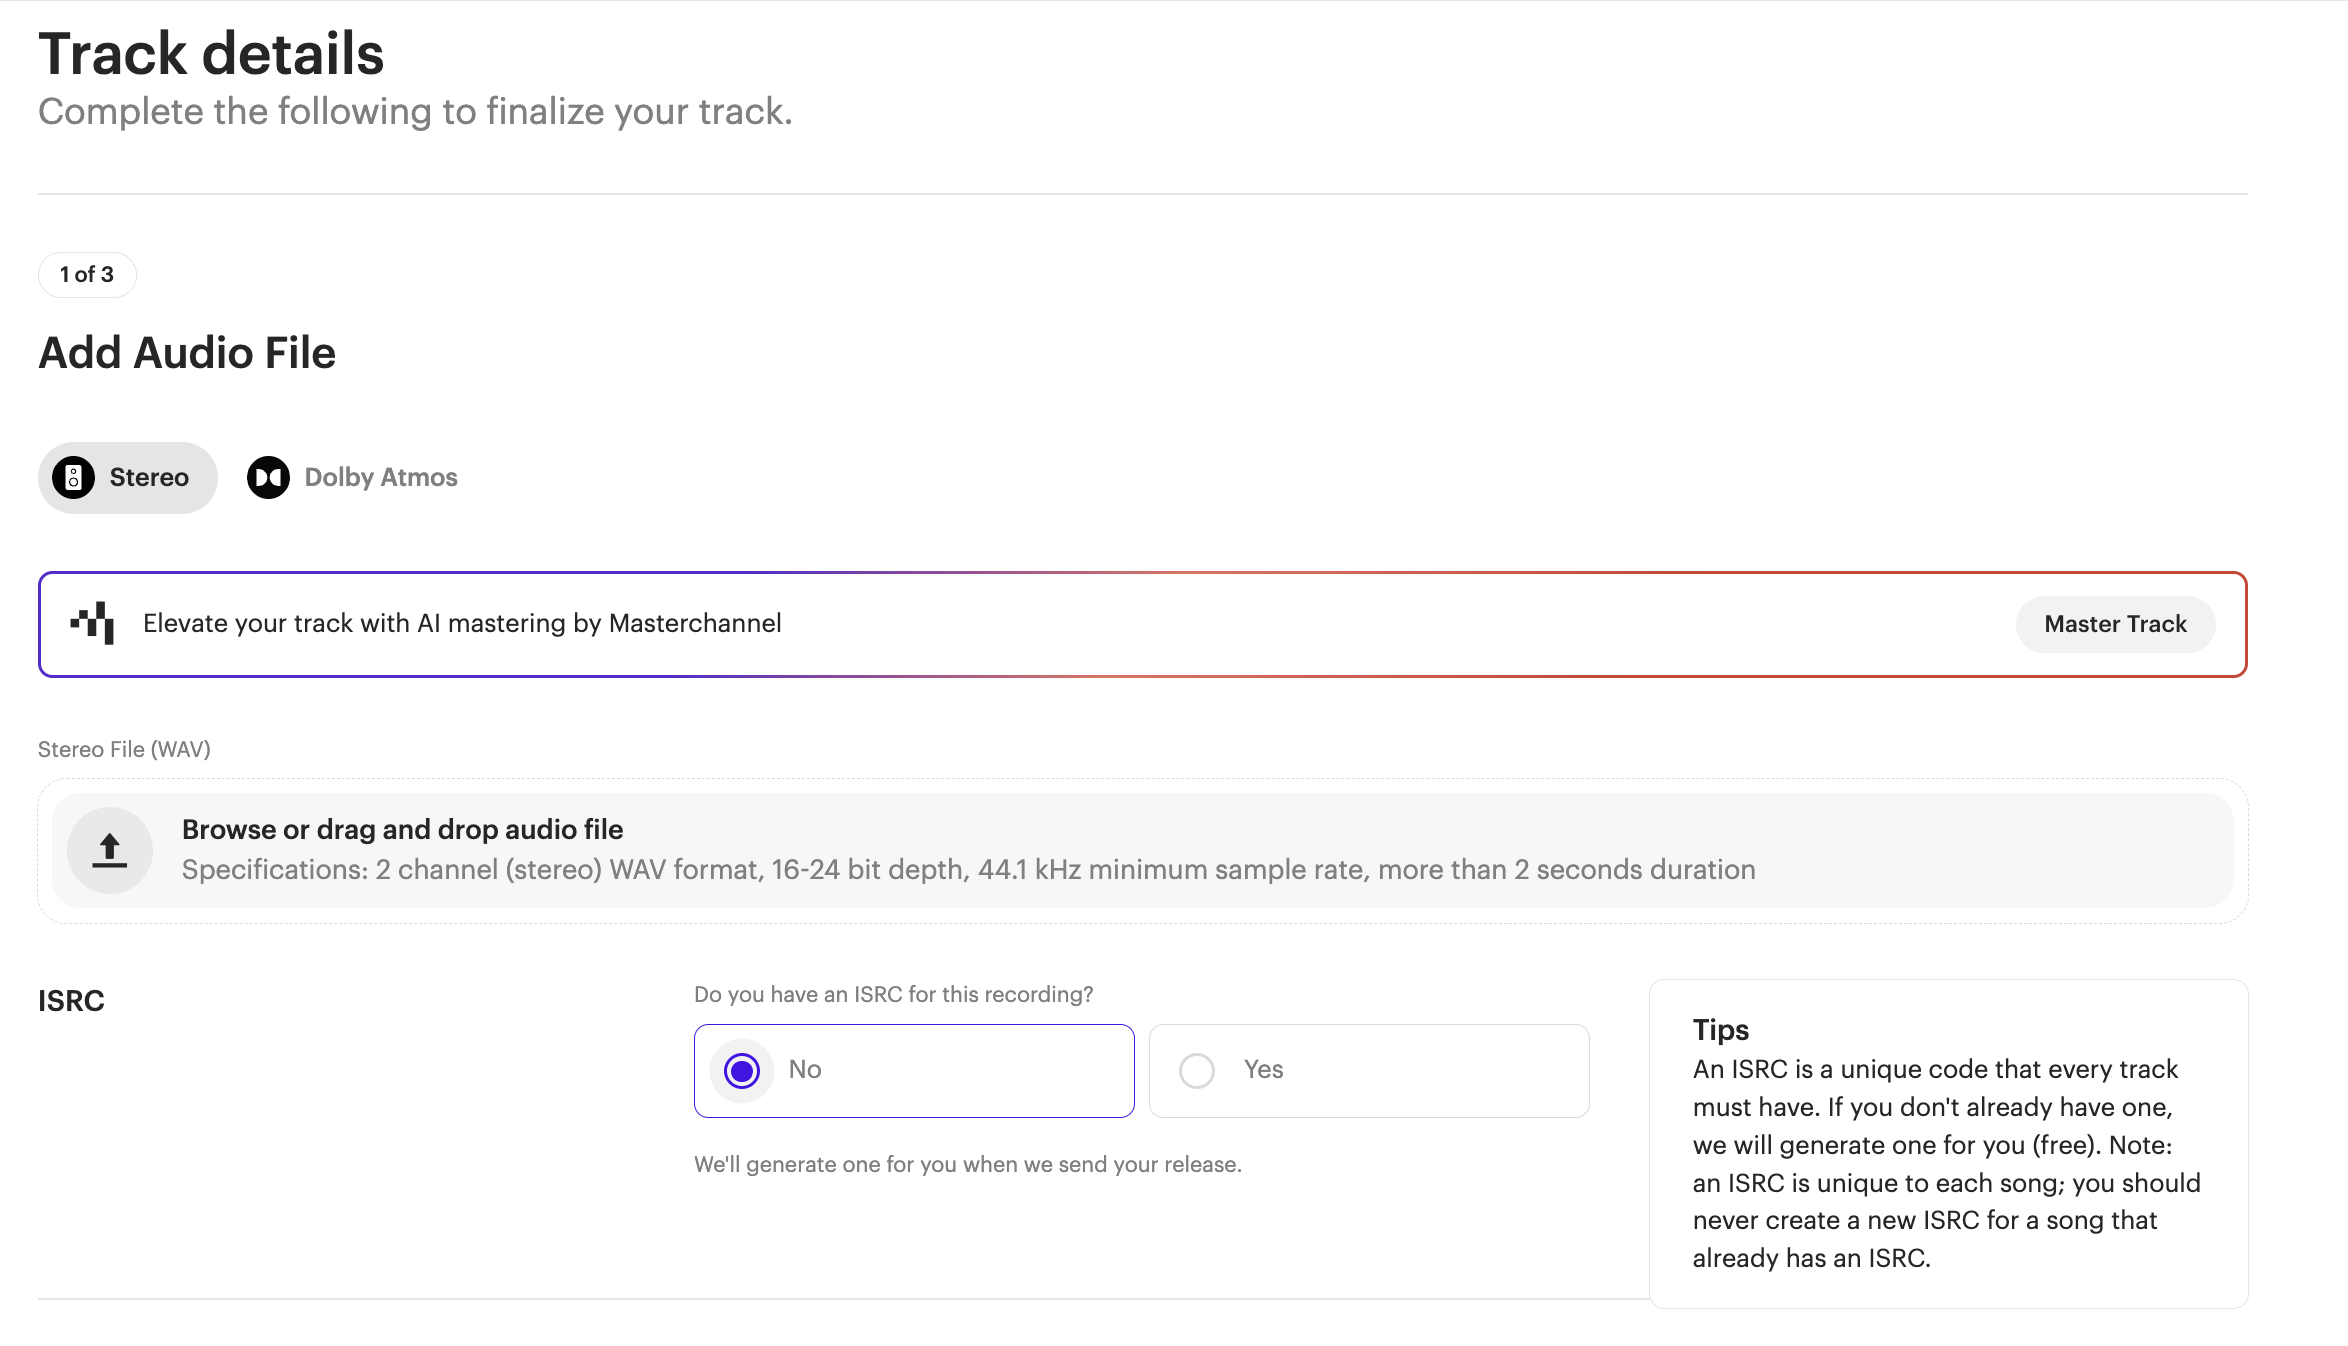
Step 1 of 3 — Add Audio File
- Go to Catalog → Tracks → Create New.
- Choose Stereo or Dolby Atmos.
- Optional: use Master Channel for AI-assisted mastering before upload.
- Upload your audio file. Once uploaded, use the built-in player to confirm it's the right file.
- Do you have an ISRC for this recording? Select Yes and enter it (format like
ABXYZ#######), or select No and one will be generated automatically when you distribute.
Step 2 of 3 — Add Details
- Track Title — the track name only.
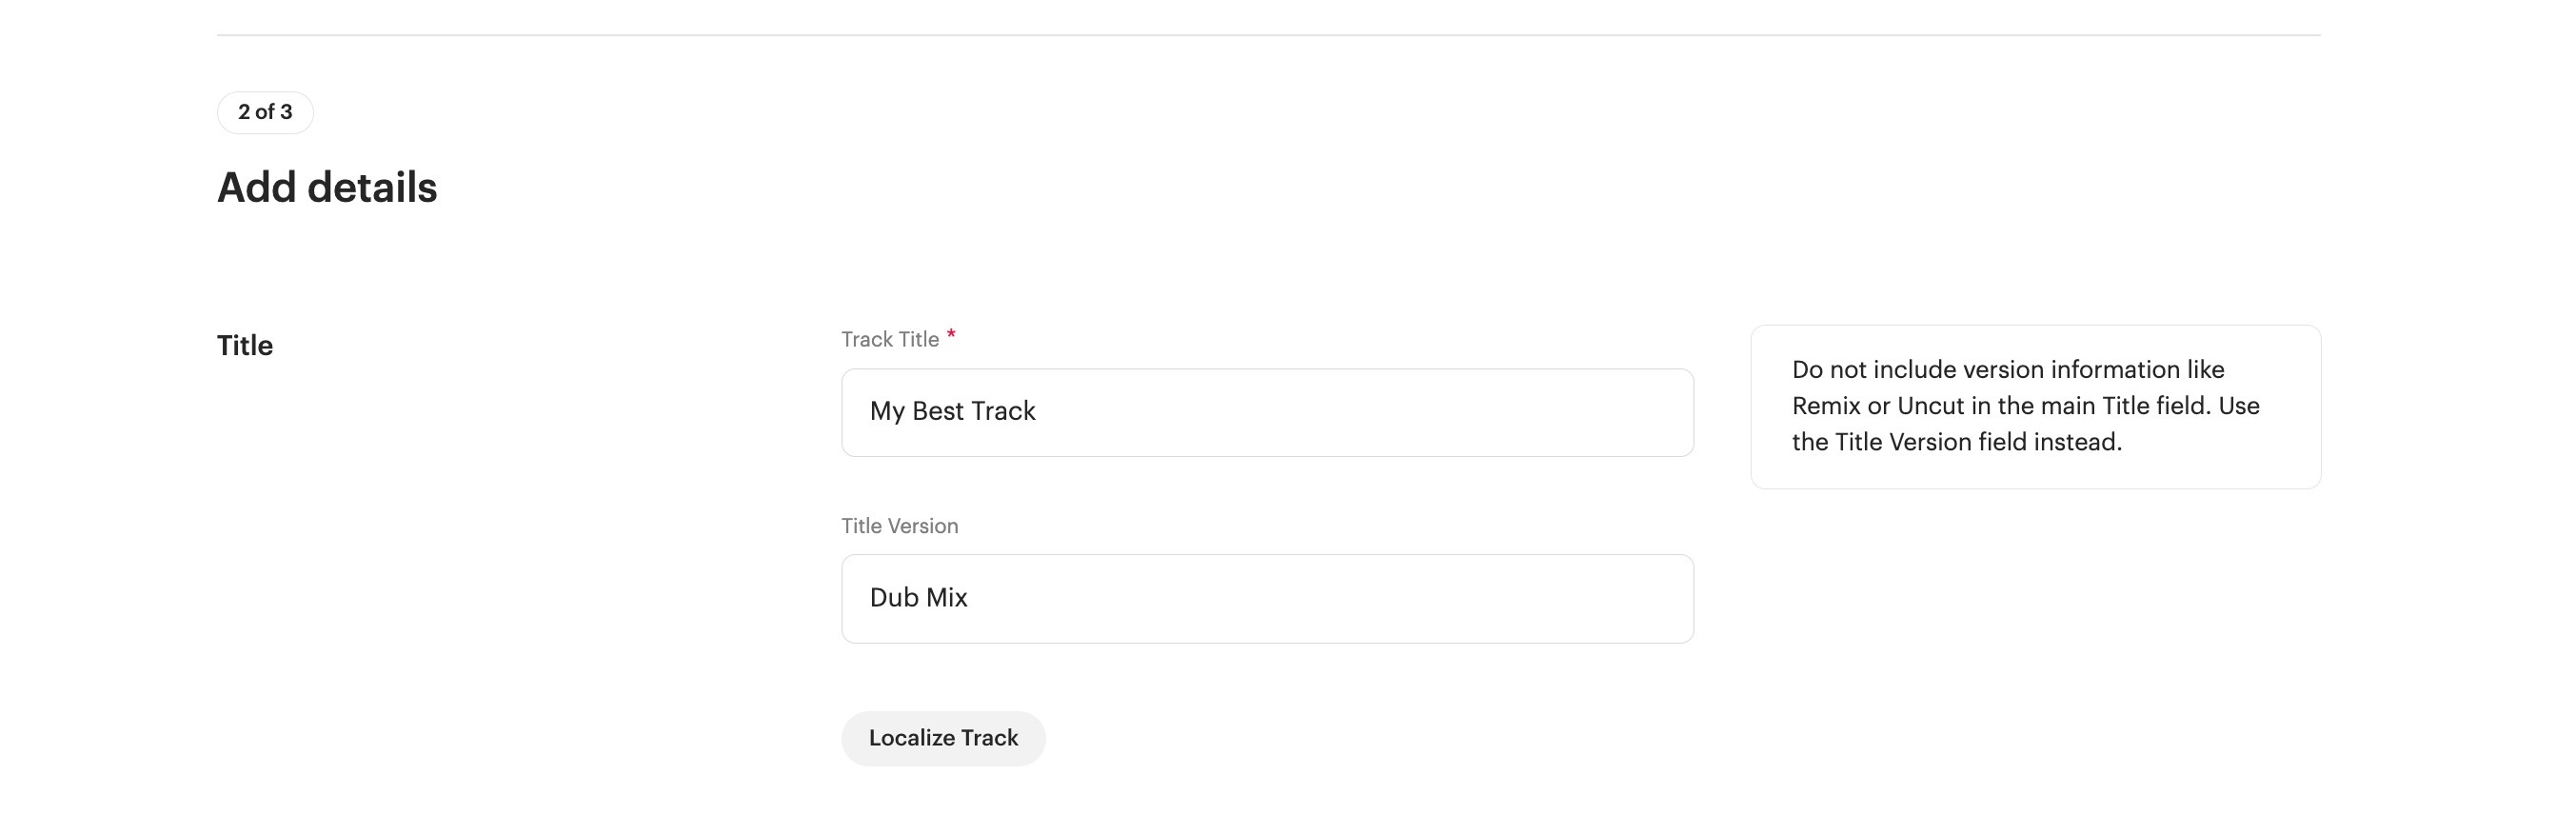
| Warning Don't include version info like "Remix," "Live," or "Remastered" in the main Title field — use Title Version instead |
- Title Version — e.g. Live, Remix, Remastered.
- Localize Track (optional) — add a translated title for a specific language/region.
- Contributors:
- Add Main Primary Artist (required)
- Add Artist for additional key artists and their roles
- Add Performer for performer credits (instrument/role-specific, searchable list e.g. Acoustic Guitar, Accordion)
- Add Credit for Producer & Engineer credits (e.g. Mixing Engineer, Co-Producer, Assistant Producer)
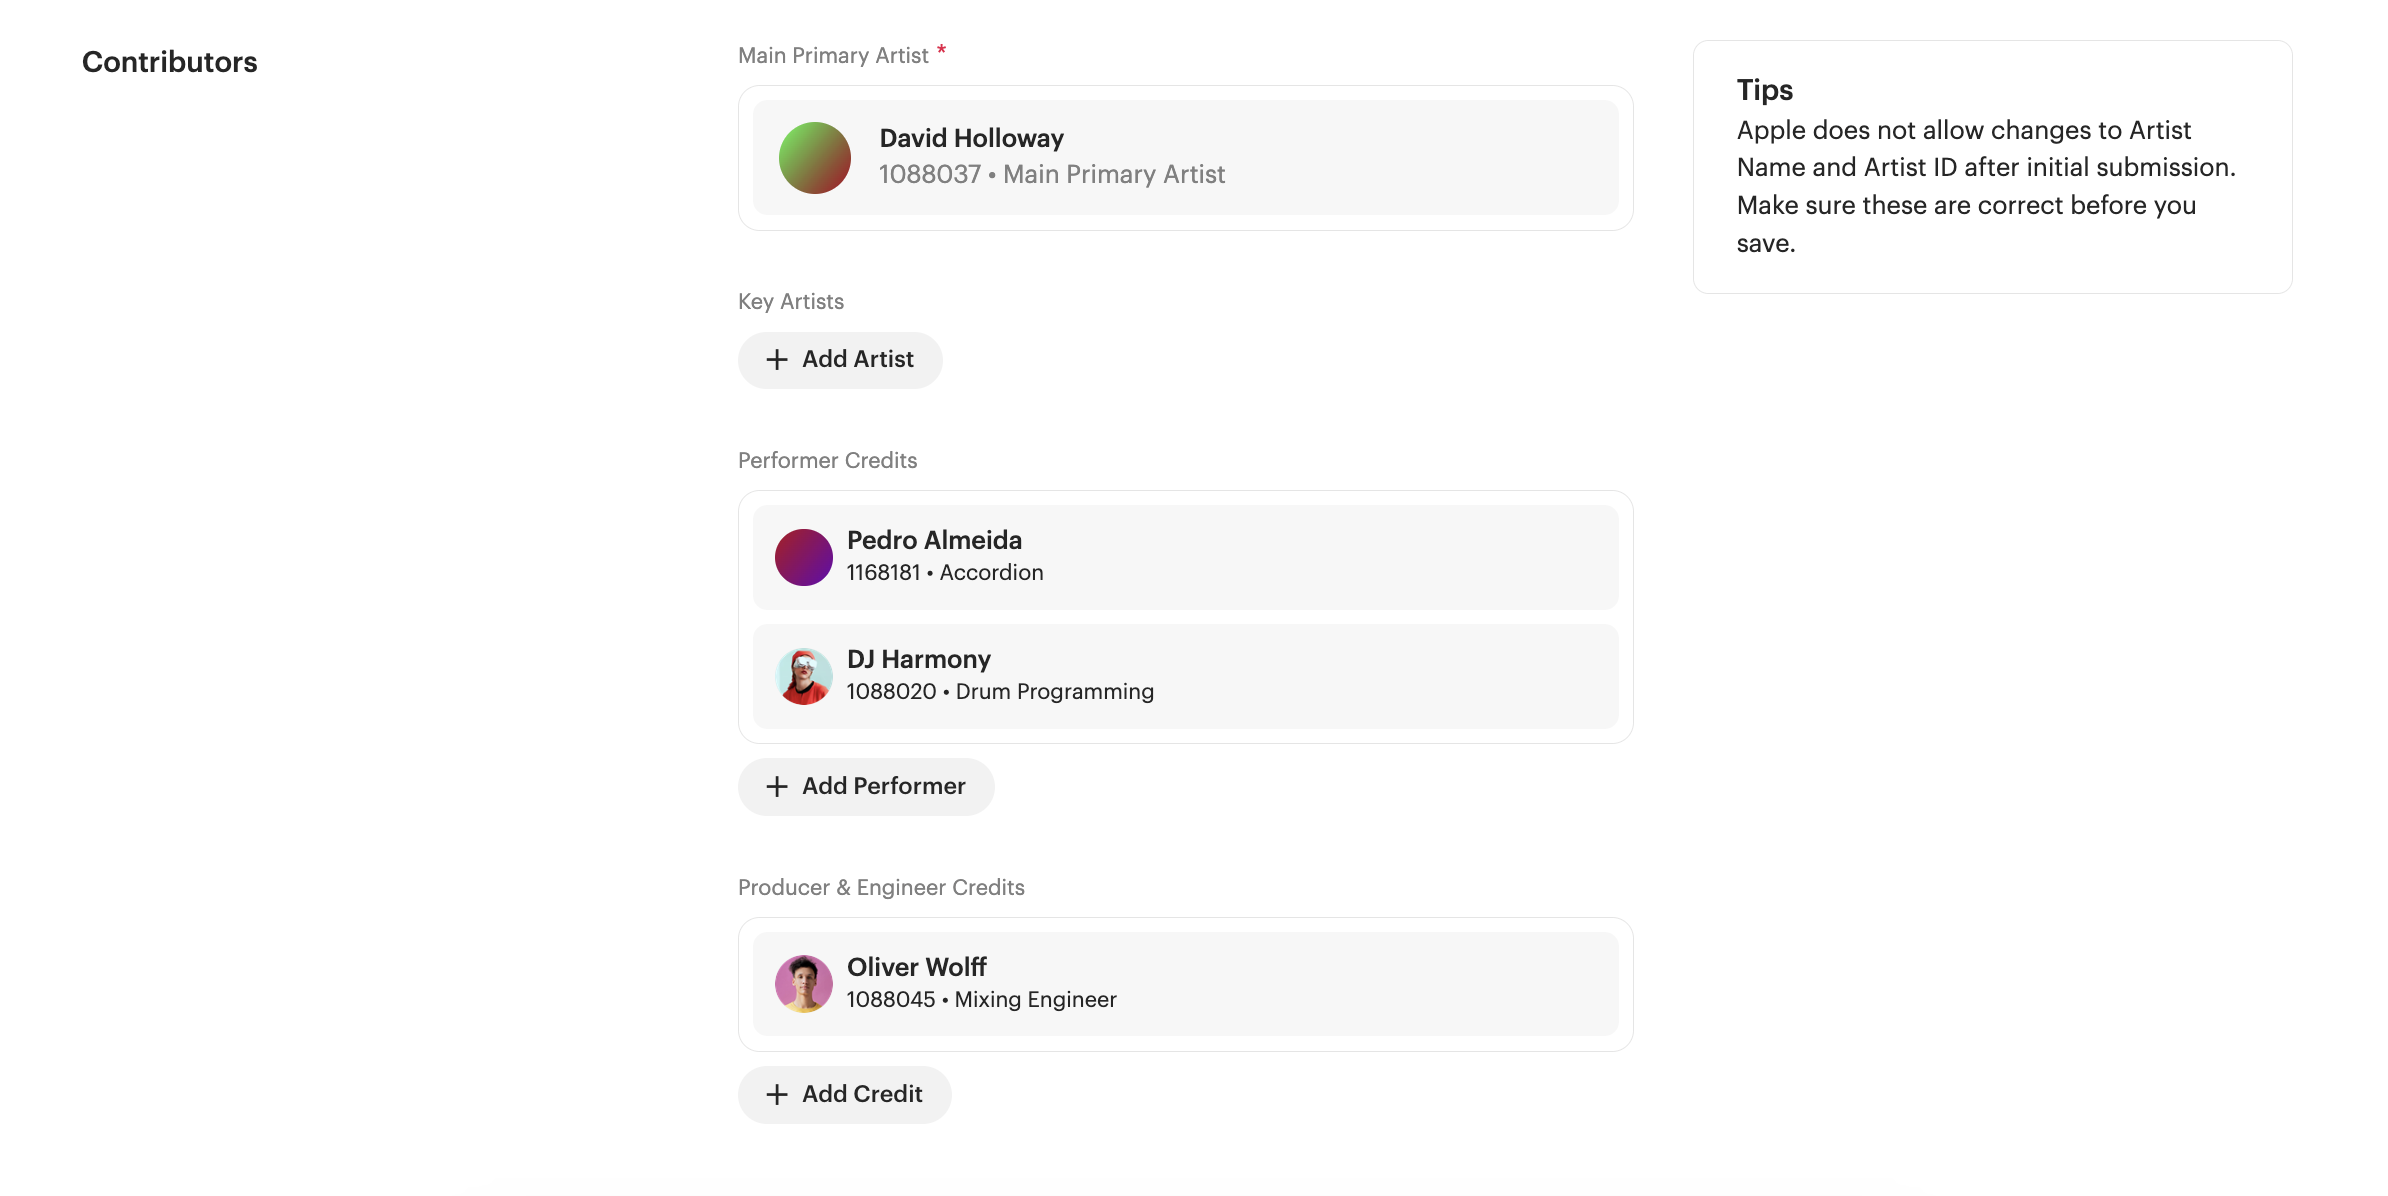
| Note on required roles A composer credit is required for every track. A lyricist credit is not required for instrumental tracks. A producer credit is now required for delivery to Spotify and Apple Music. |
- Primary Genre and Secondary Genre (optional).
- Preview/Clip Start Time (mm:ss) — the timestamp where platform previews (e.g. TikTok music library or iTunes preview) will start playing, so choose the best part and most catchy of your track!
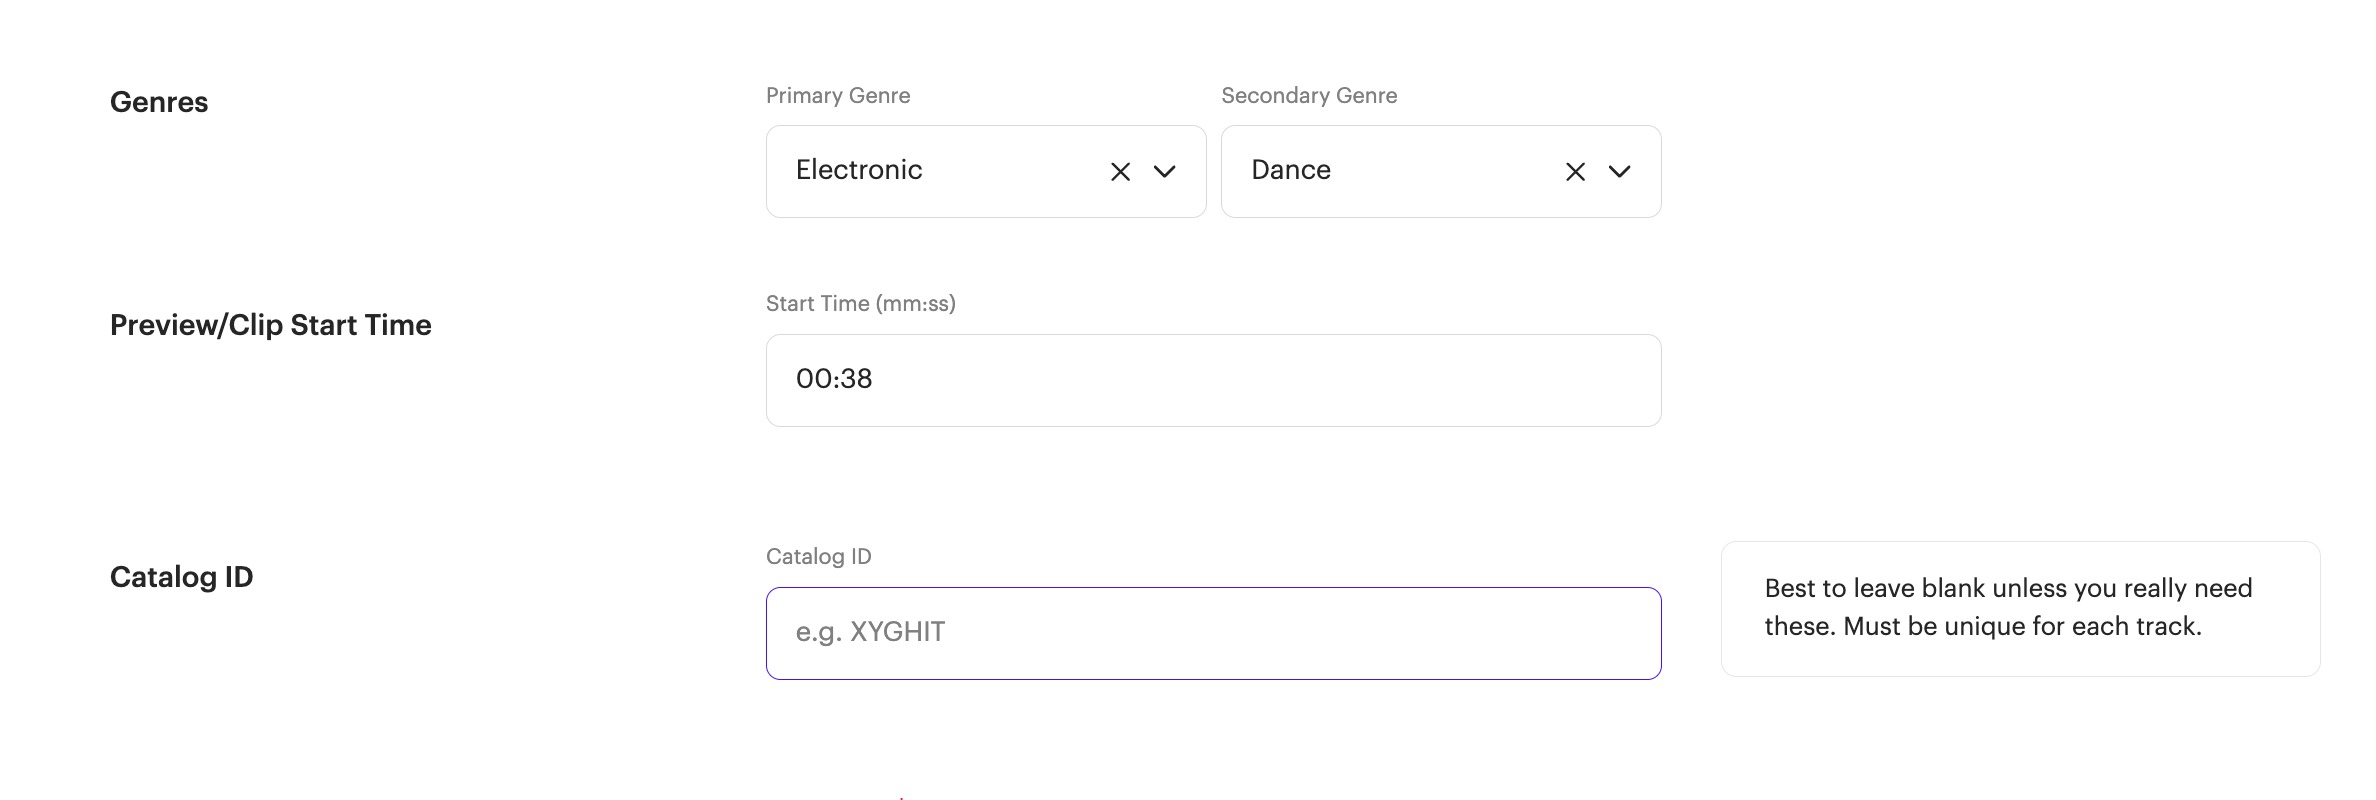
- Catalog ID — best left blank unless you specifically need one; it must be unique per track.
- Track Origin— choose one:
- Original Work
- Public Domain & Traditional
- Cover Song
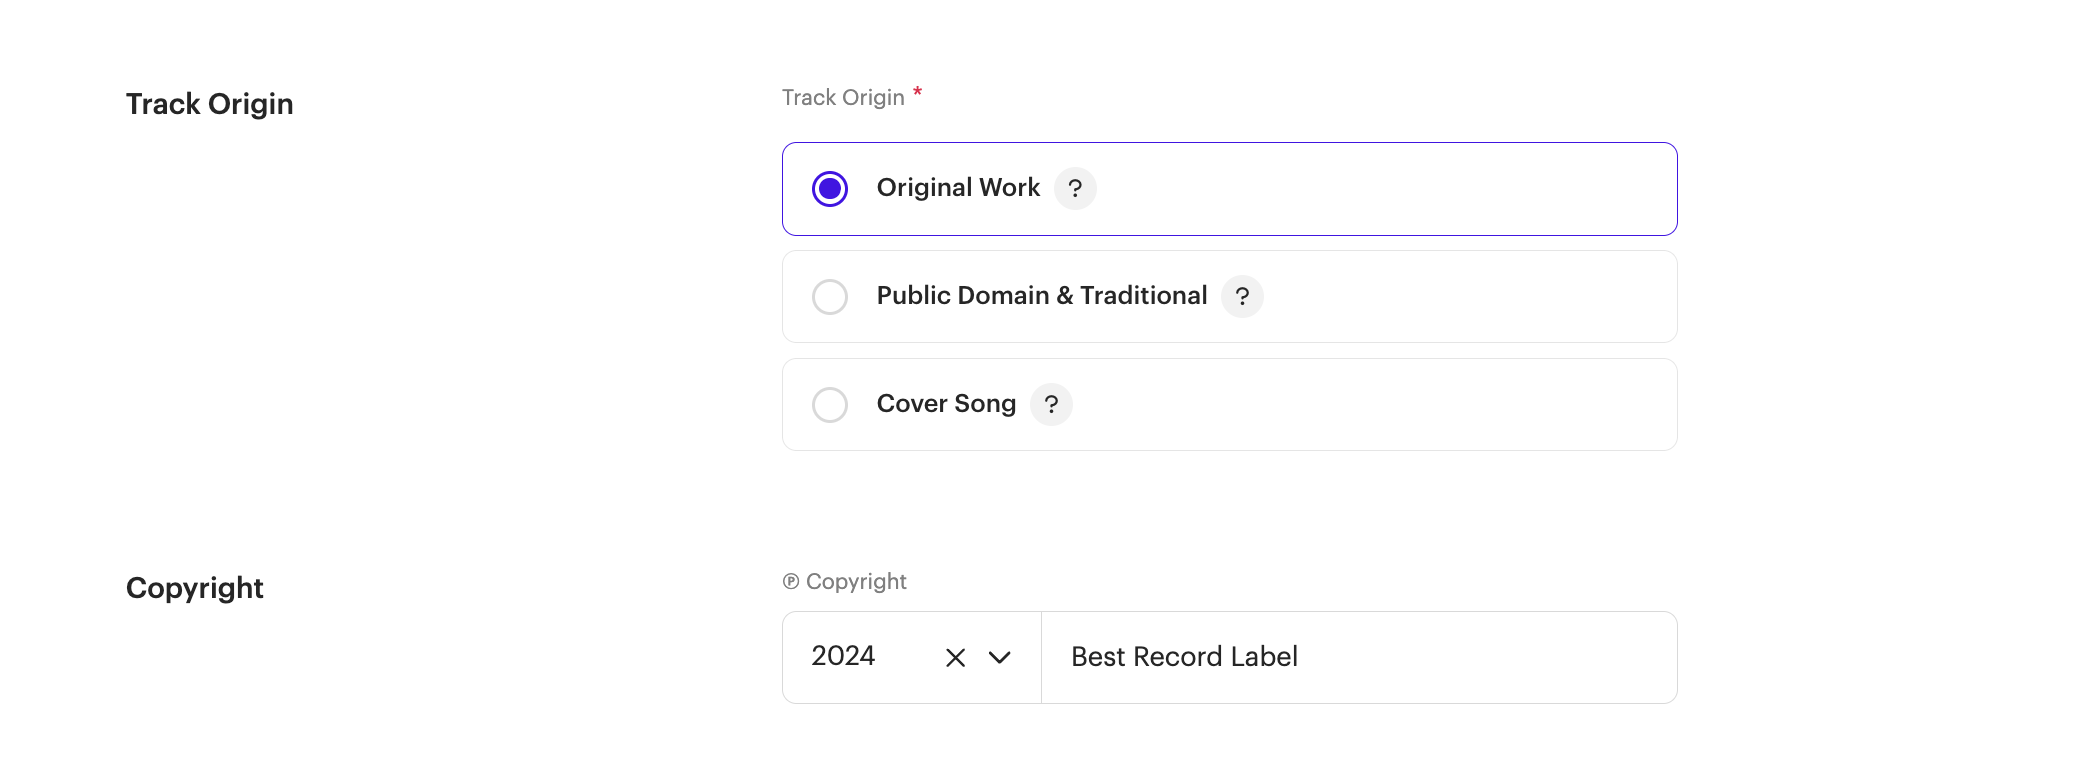
| Tip Hover the ? next to each option for a definition if you're not sure which applies. |
- Copyright — select the year and enter the copyright holder's name (your artist or label name for original work).
- Track Properties — tick any that apply: Remix or Derivative, Samples or Stock, Mix or Compilation, Alternate Version — or tick None of the above apply.
- Explicit Content — Not Explicit or Explicit Content.
| Warning If your track contains explicit language or references (drugs, violence, sexual content, discriminatory language, swearing) in the lyrics or title, you must mark it Explicit — otherwise your release may be rejected when you attempt to distribute it. |
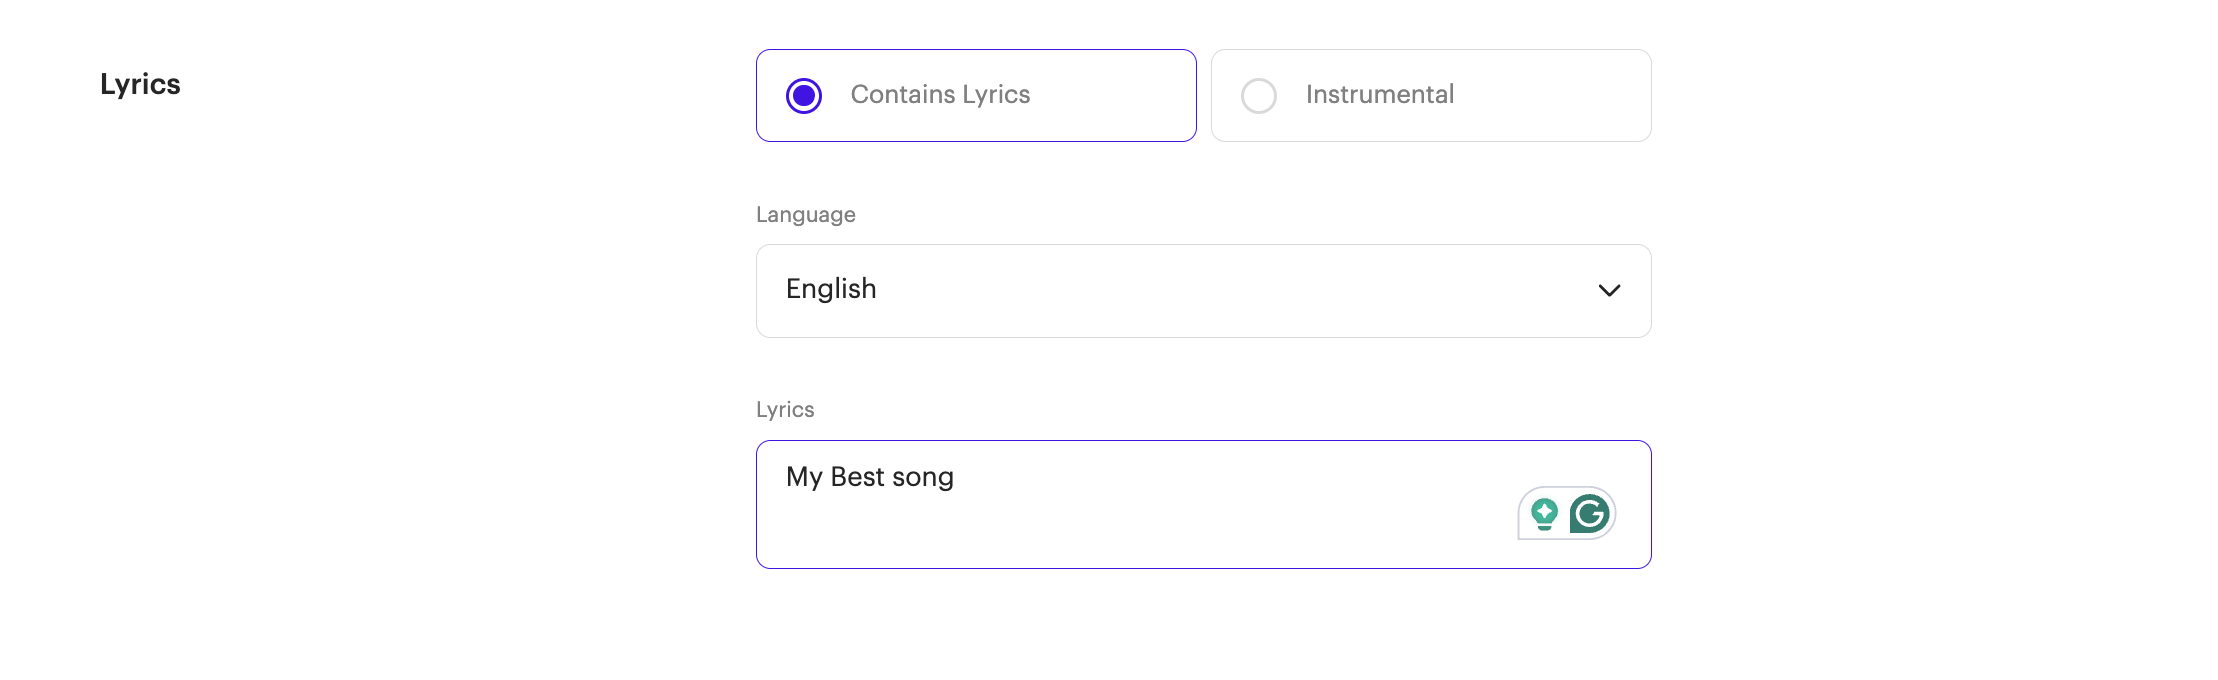
- Contains Lyrics (then choose the lyrics language and optionally paste the lyrics) or Instrumental.
Step 3 of 3 — Add Publishing Info
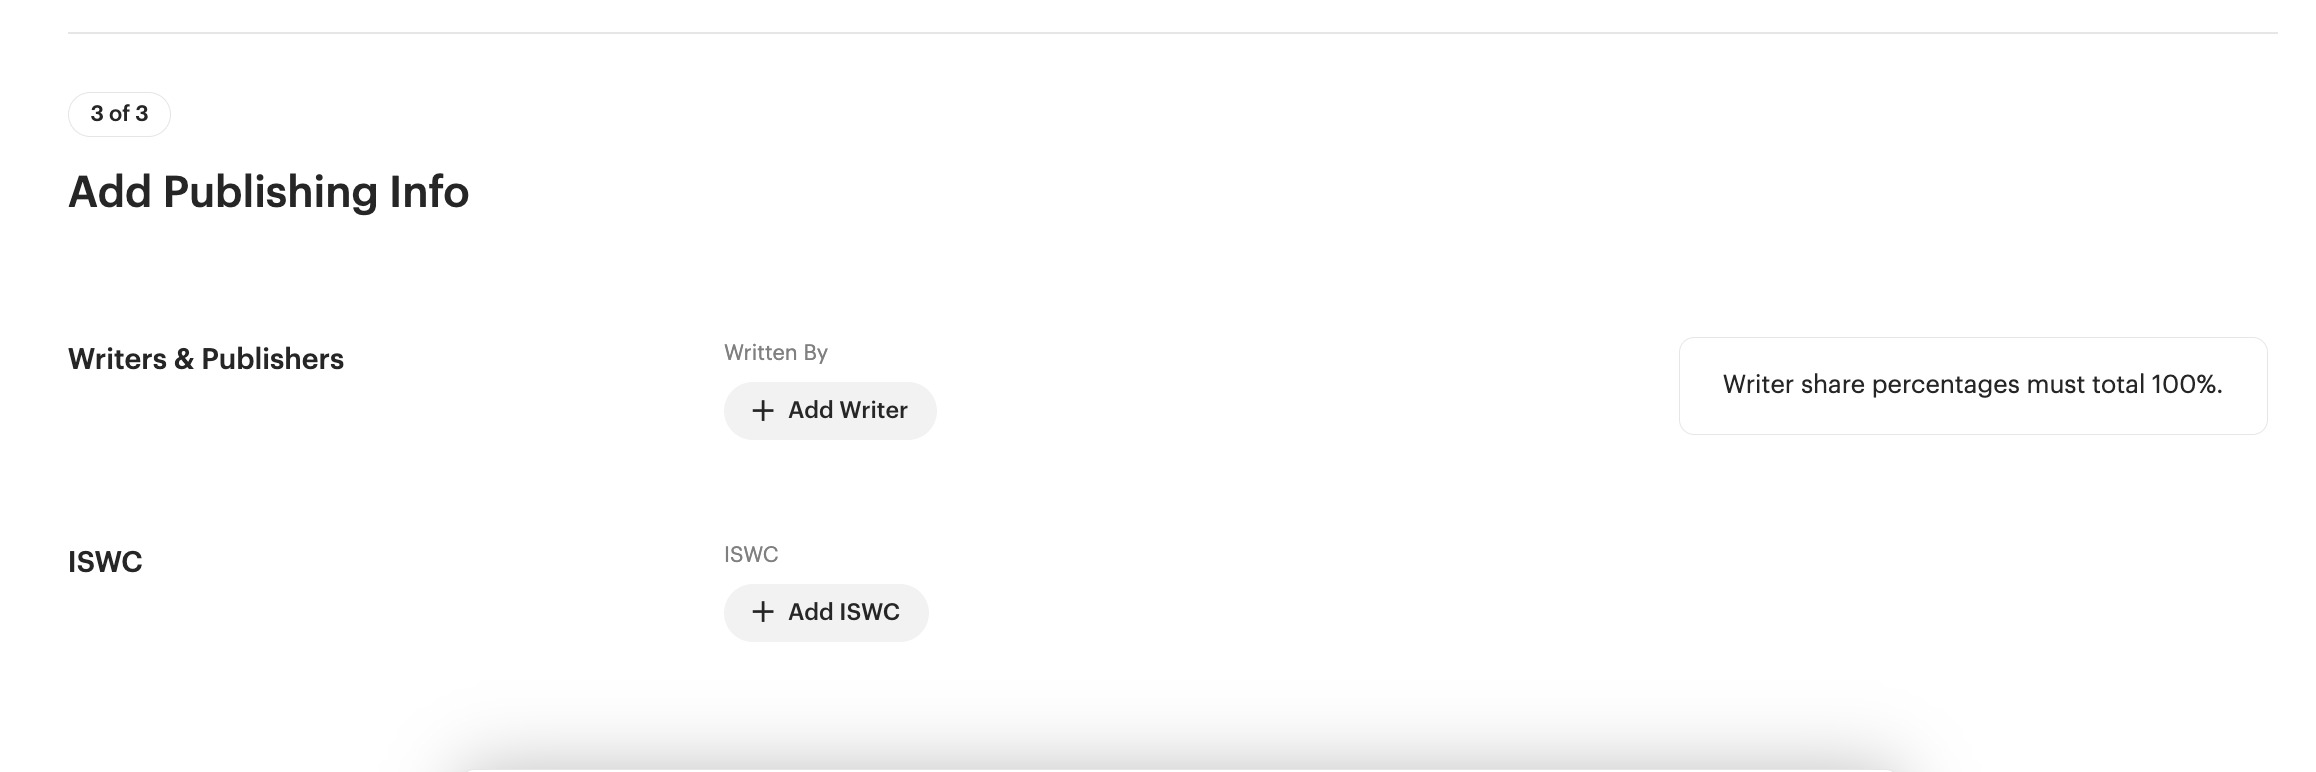
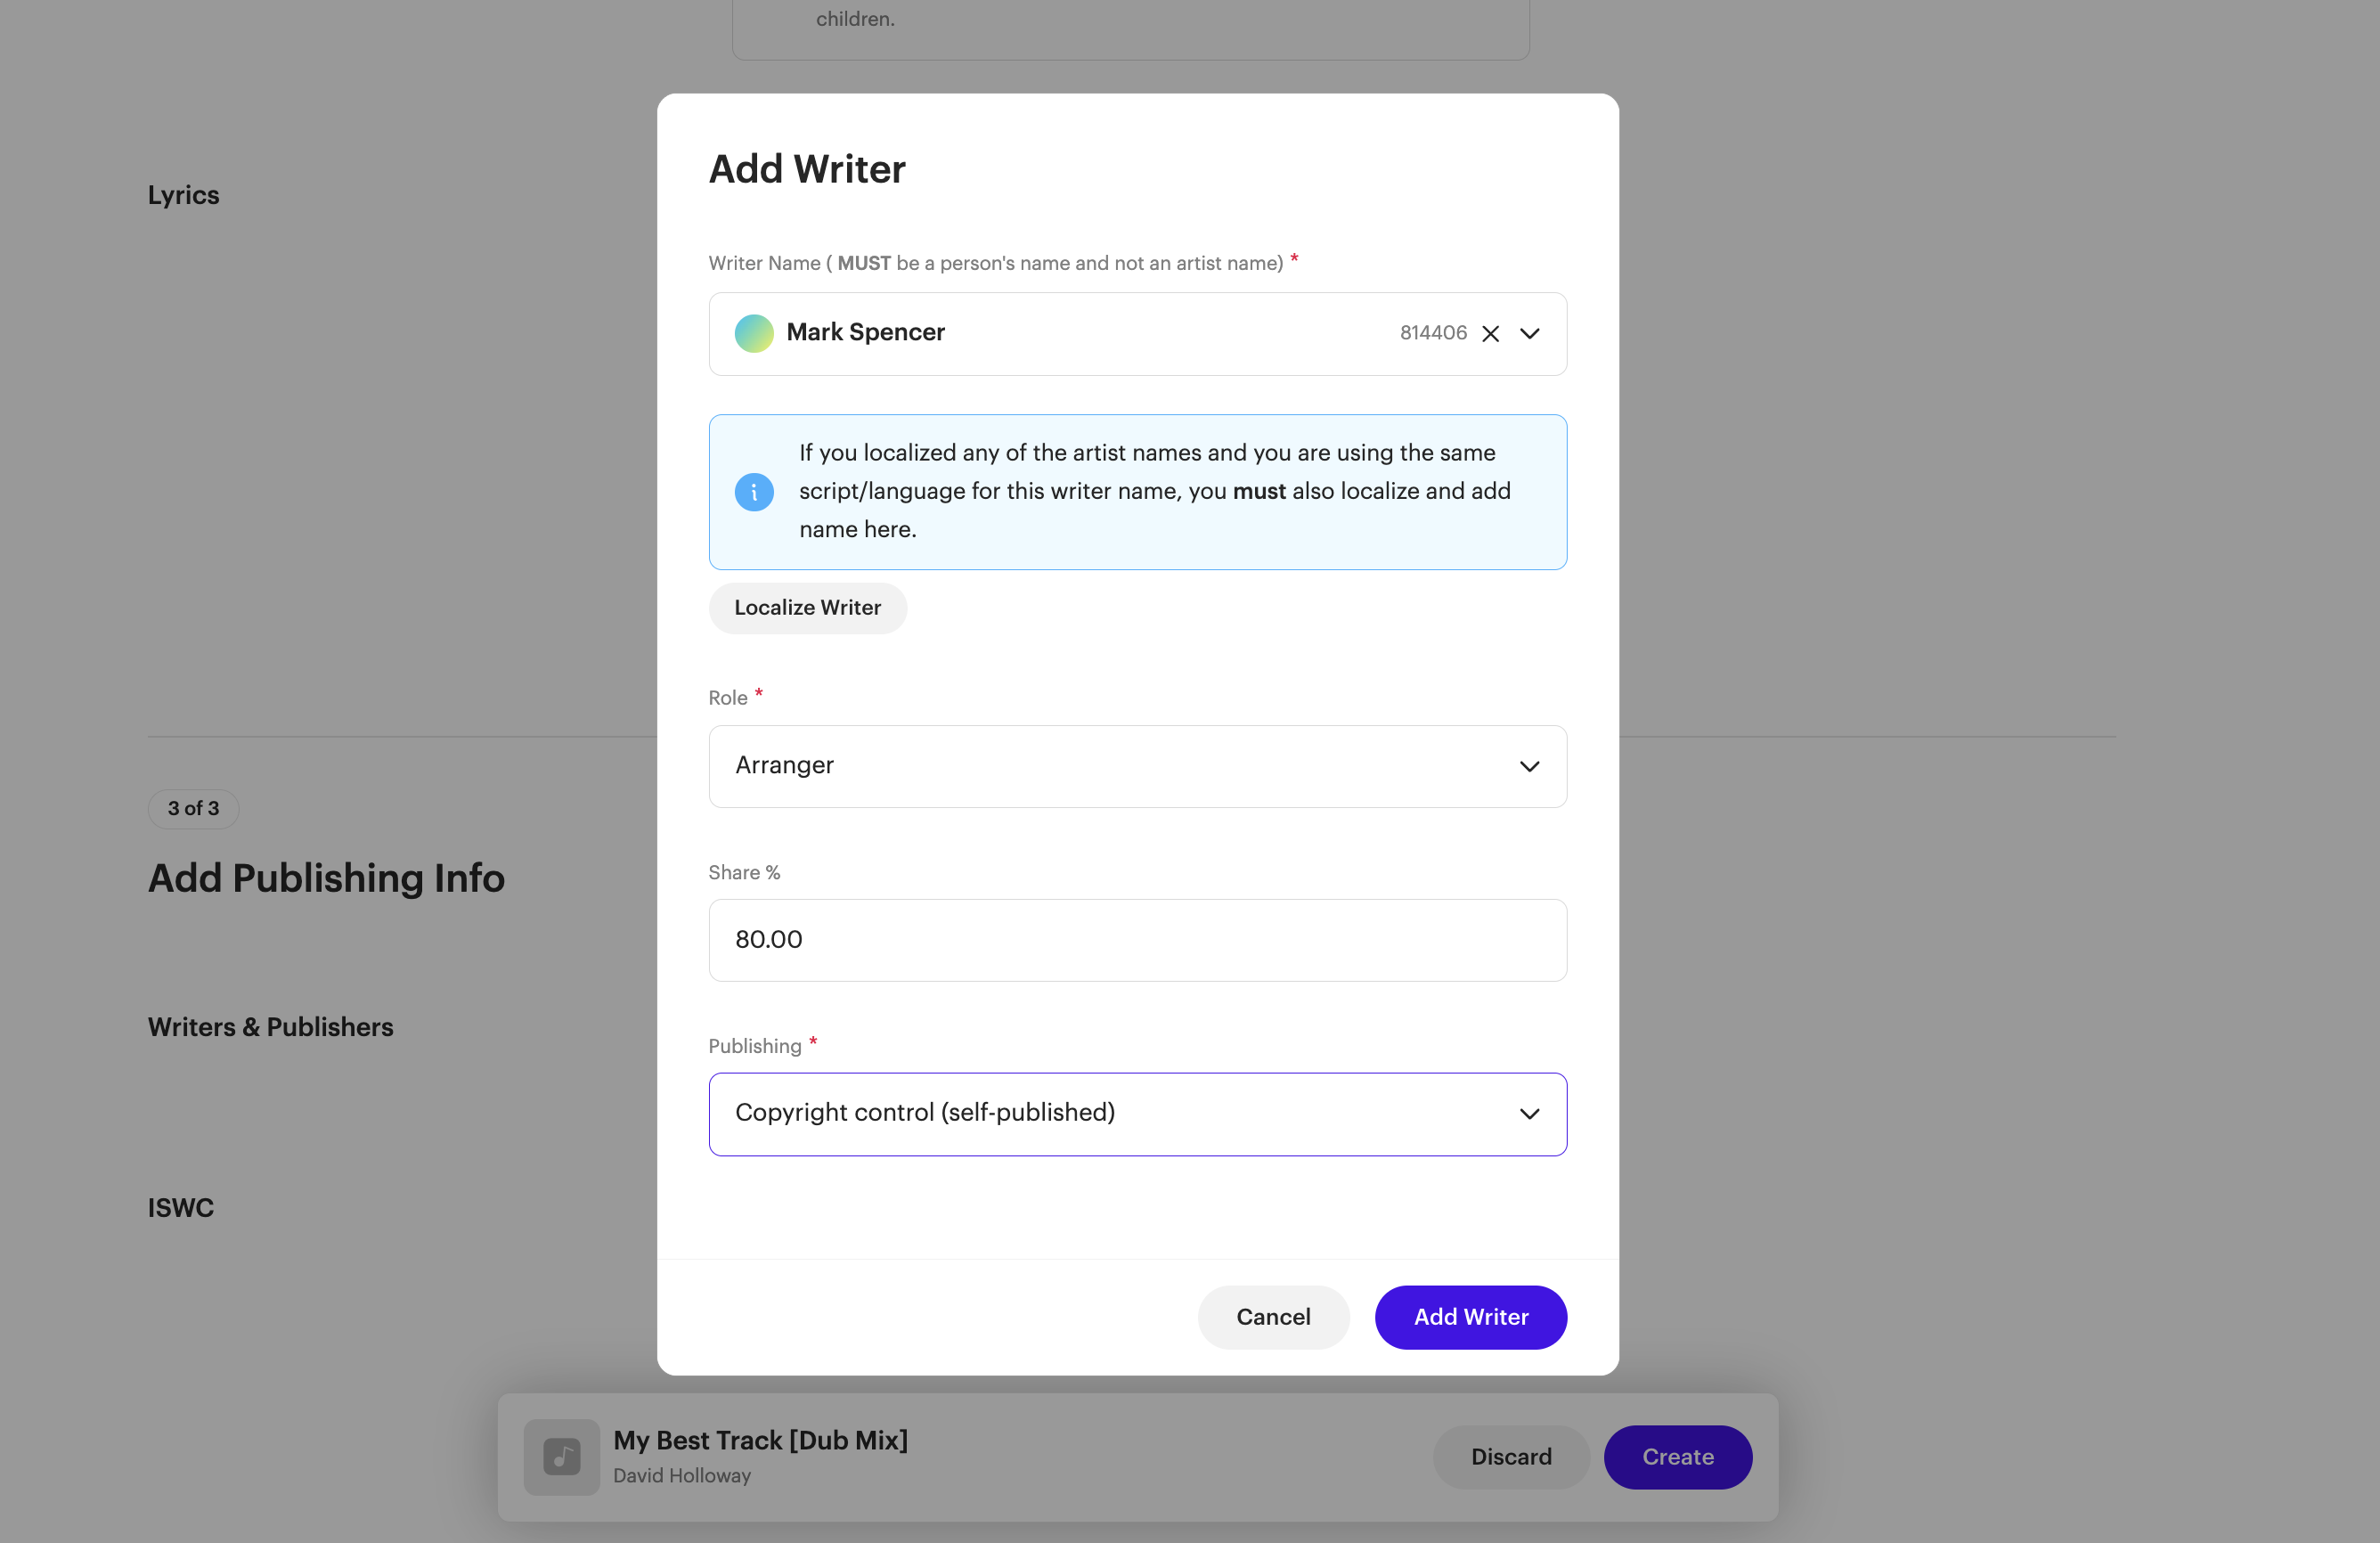
- Add Writer — enter the writer's full legal name (this must be a person's name, not an artist name), their role (e.g. Composer, Arranger), and their share %.
- Publishing — choose self-published, managed by a publisher (enter publisher name), or public domain.
- Add every contributor's share until the total equals 100%.
- Add ISWC (optional) — only if this work is already registered with a PRO.
| Tip Publishing and writer-split fields aren't mandatory platform-wide — your track can still go out without them. But some DSPs, notably Spotify and Apple Music, require this information to display correct writer and publisher credits. |
Review and create
Review your entries, then click Create.
What's next
Once your track is created, you can add it to a release — see How to Create and Upload a Release.
Related articles
Was this article helpful?
That’s Great!
Thank you for your feedback
Sorry! We couldn't be helpful
Thank you for your feedback
Feedback sent
We appreciate your effort and will try to fix the article